Field journal: through Day 22

Solar installation at St. Luke’s.

A 420.2 kW solar project across three campus buildings. Follow the installation in photos and videos from the site.

Follow the build
420.2 kWPlanned system size
3 buildingsAcross the campus
Day 22Latest recorded update
Oct. 1Original inspection goal
The project

Three buildings. 420.2 kW.

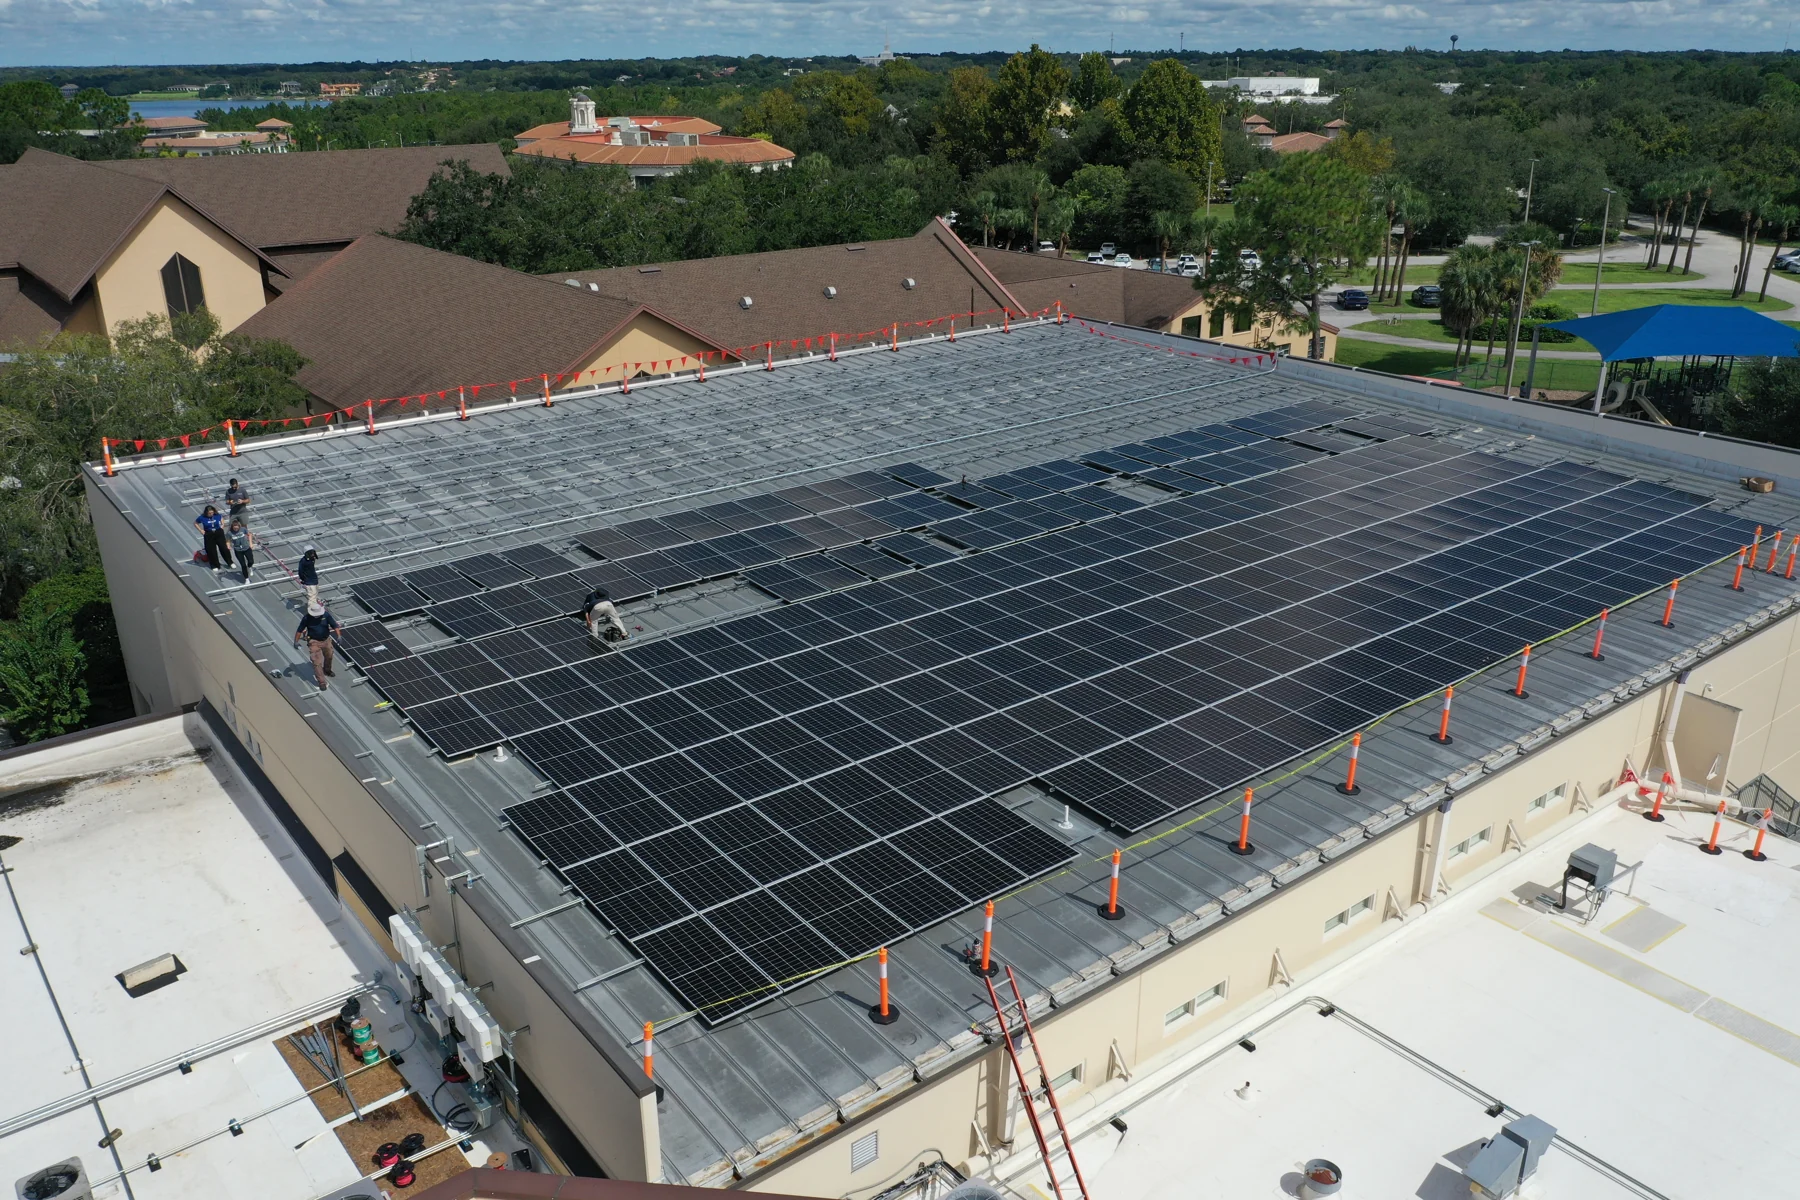
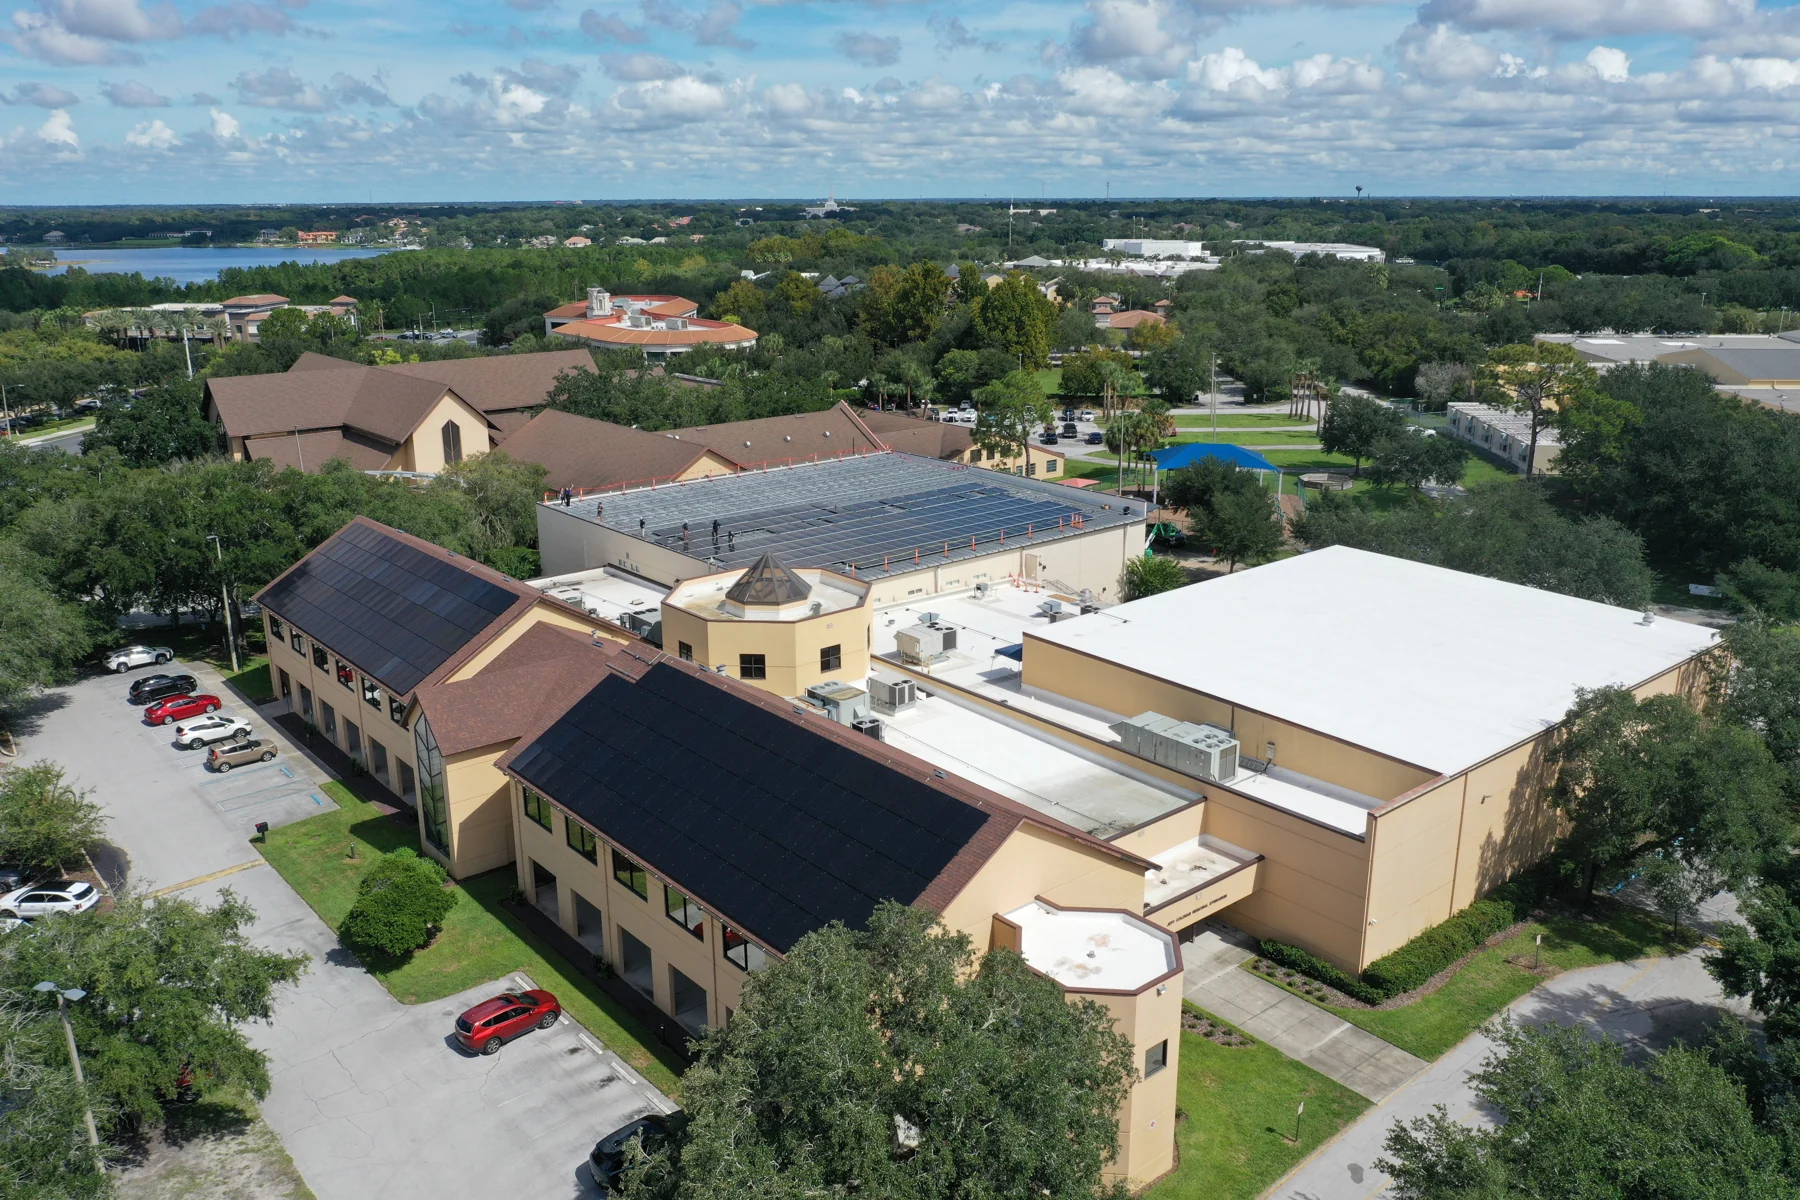
By Day 22, the shingle-roof arrays were in place and the crew was installing panels on the metal roof. The aerial photos show the work across the campus.

Browse the field journal below for photos and video from each stage.

Shingle roofs

Aug. 10–21

Recorded field work

Metal roof

Aug. 24–Sept. 9

Recorded field work

Flat roof

Sept. 10–23

Original schedule

Electrical + commissioning

Sept. 24–30

Original schedule
Day 8

Project update.

David explains the progress on the first array, electrical equipment and conduit.

Project journal

Day 1 through Day 22.

Photos and video from the work completed so far.

Before construction

The campus before installation

This aerial shows the three-building campus and its roof types before solar work began.
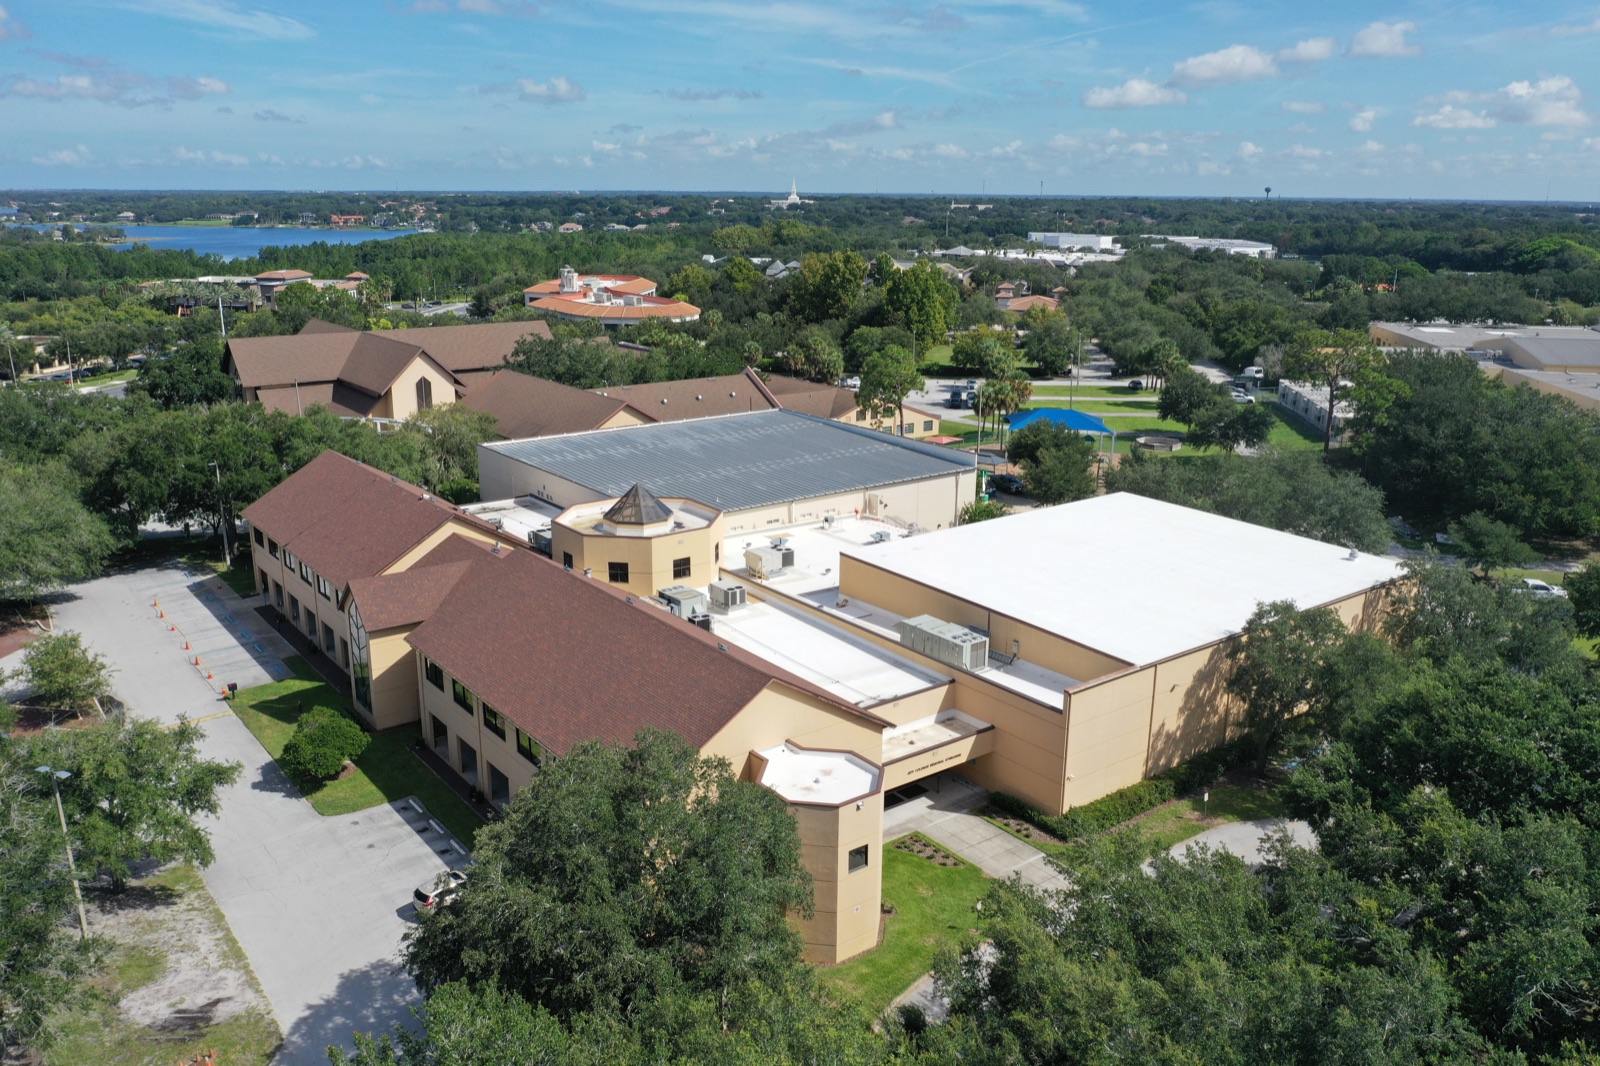
Aerial view of the St. Luke's campus before solar construction began
Day 1

The project starts on the first shingle roof

Work began on the first shingle roof with layout and material staging.

Day 3

Mounting rails on the first roof

The crew completed the rail layout on the first roof and prepared it for panels.
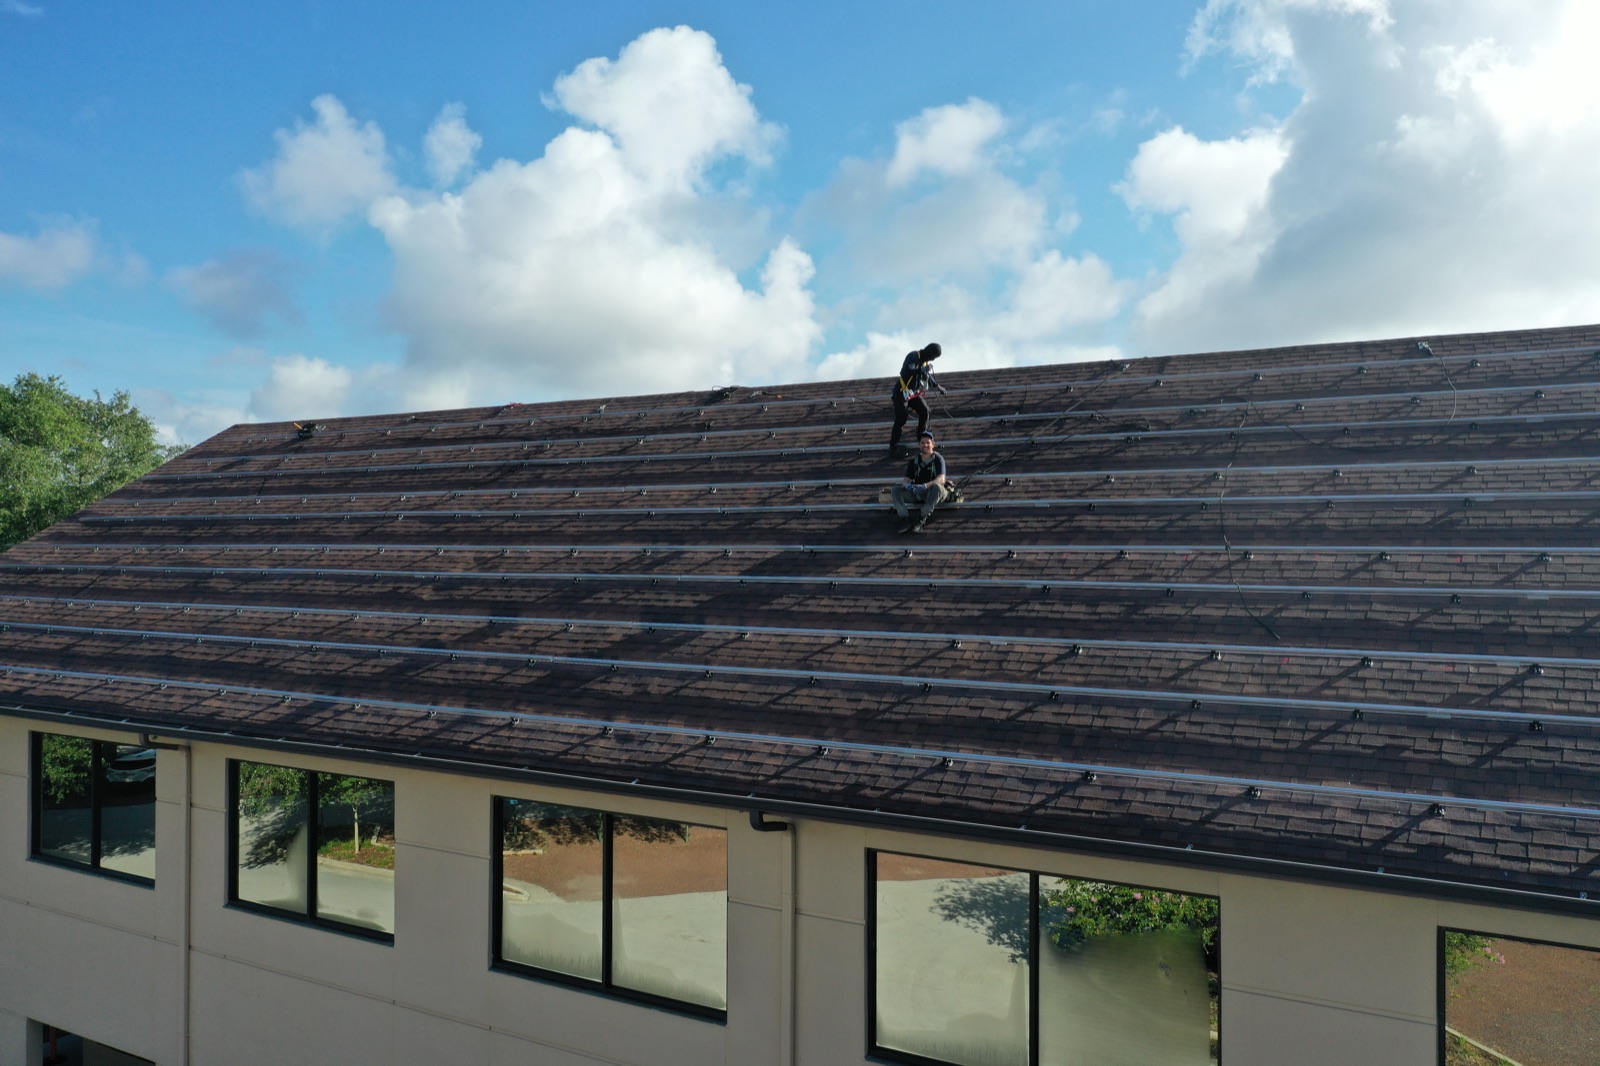
Solar mounting rails installed across the first St. Luke's roof
Day 5

The first panels go on

The first all-black panels went onto the shingle roof.
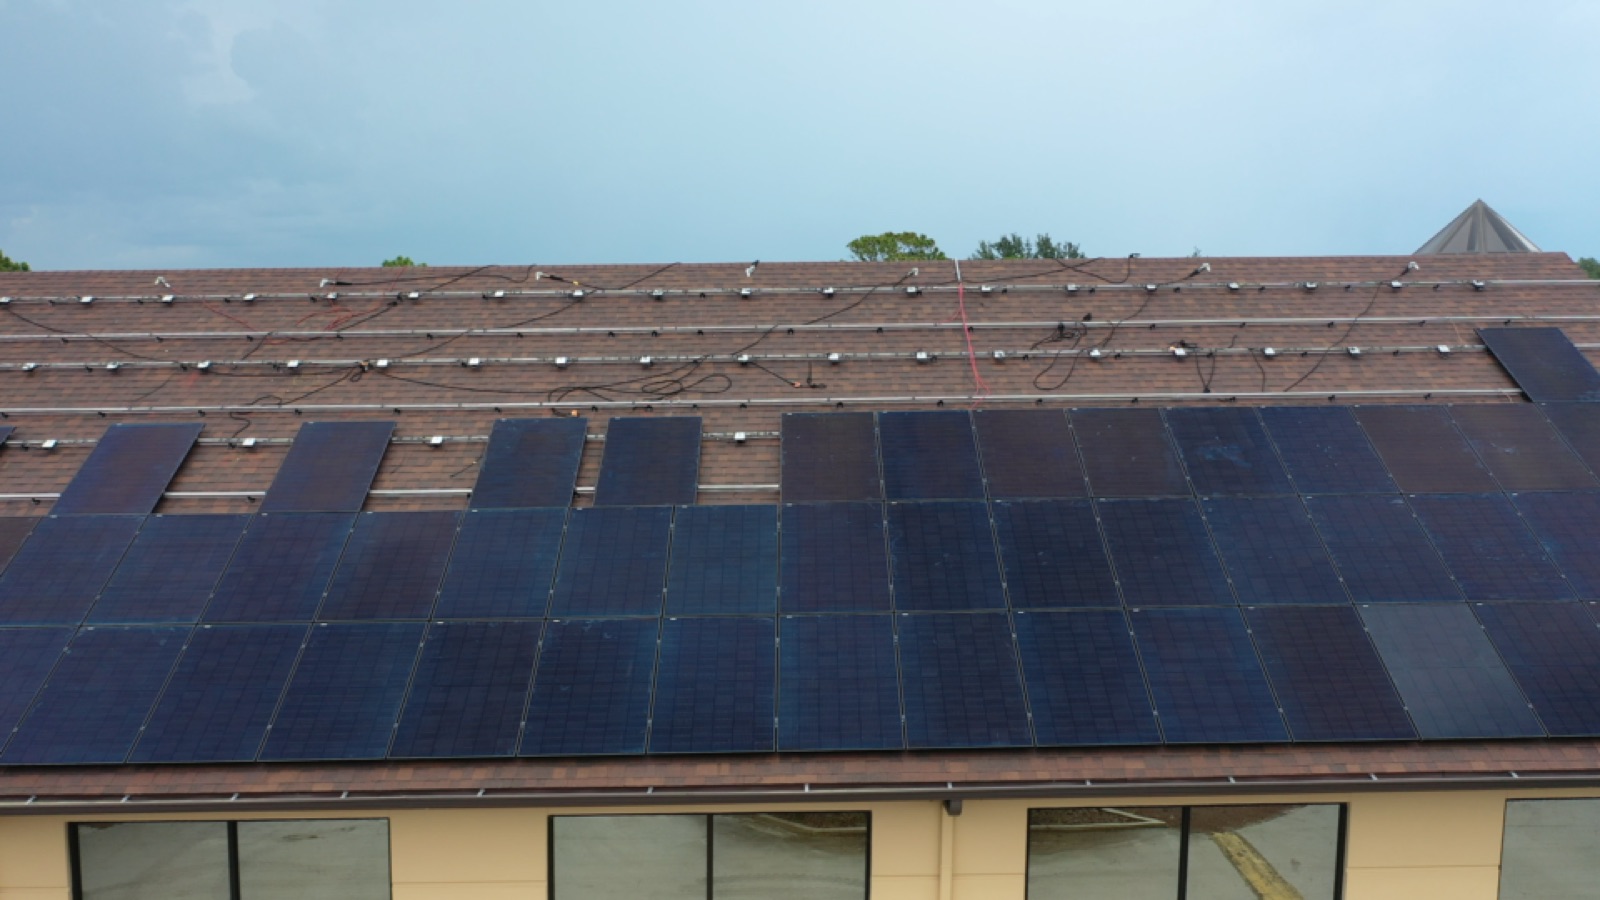
All-black solar panels being installed on the first St. Luke's roof
Day 7

The first array is complete

The first rooftop array was completed before work moved to the other roof sections.

Day 8

Conduit and electrical equipment

Conduit and electrical equipment were installed alongside the panel work.
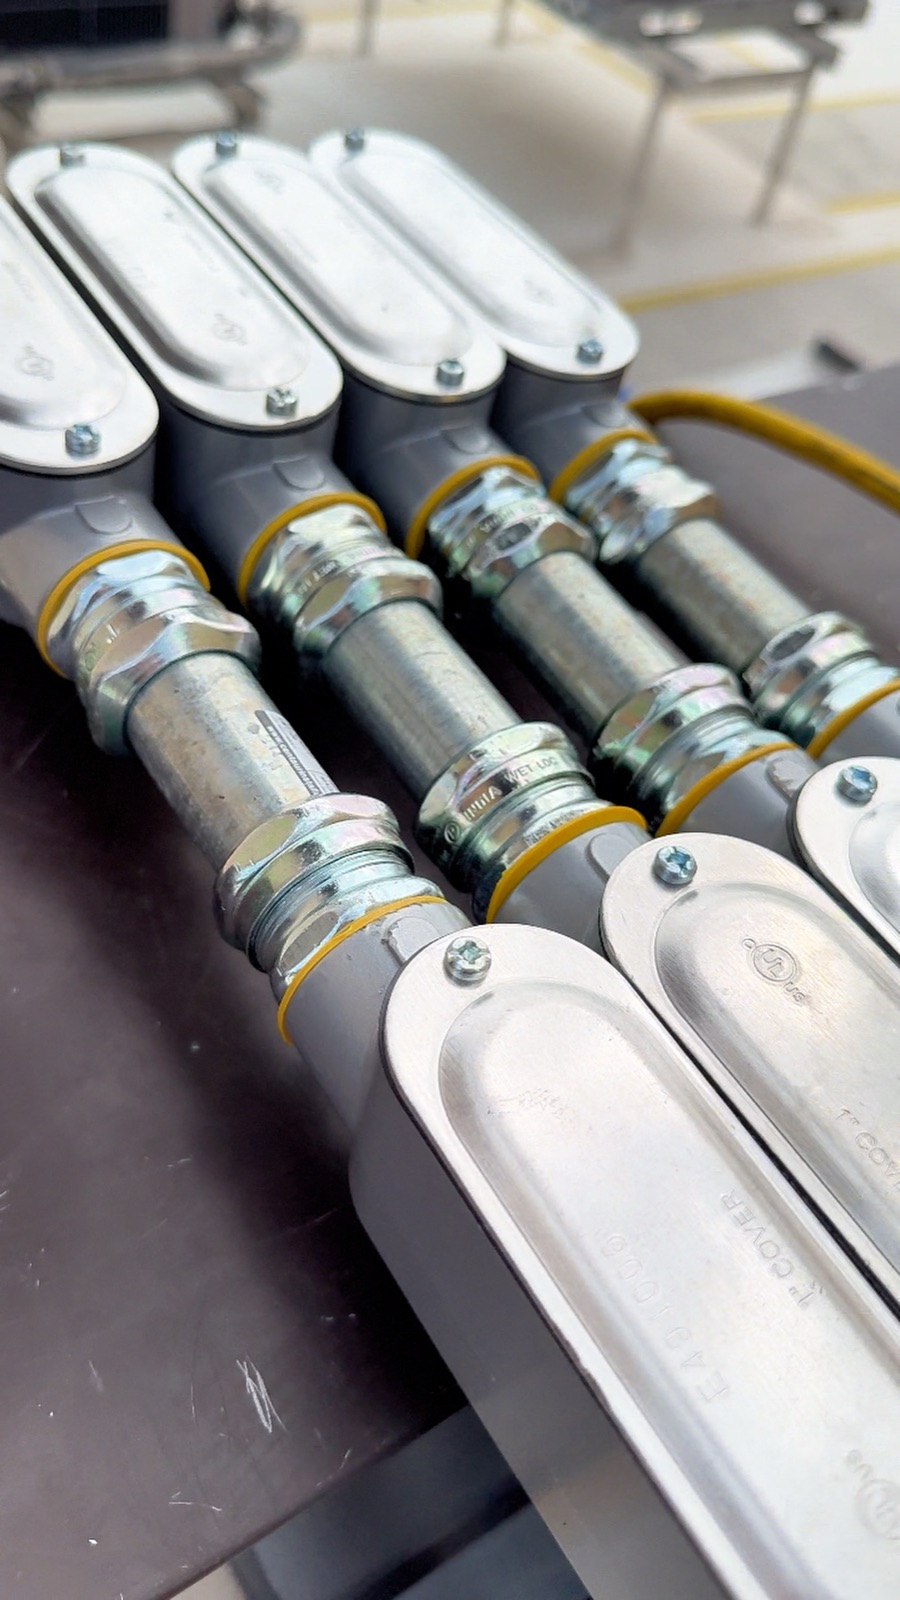
Close view of metal conduit prepared for the St. Luke's solar installation
Day 11

The next shingle-roof section is underway

The crew moved to the next shingle-roof section and began installing the optimizers that will sit beneath the panels.

Day 12

Inverters and conduit installed

The aerial view shows inverter equipment and conduit along the building before work began on the metal roof.
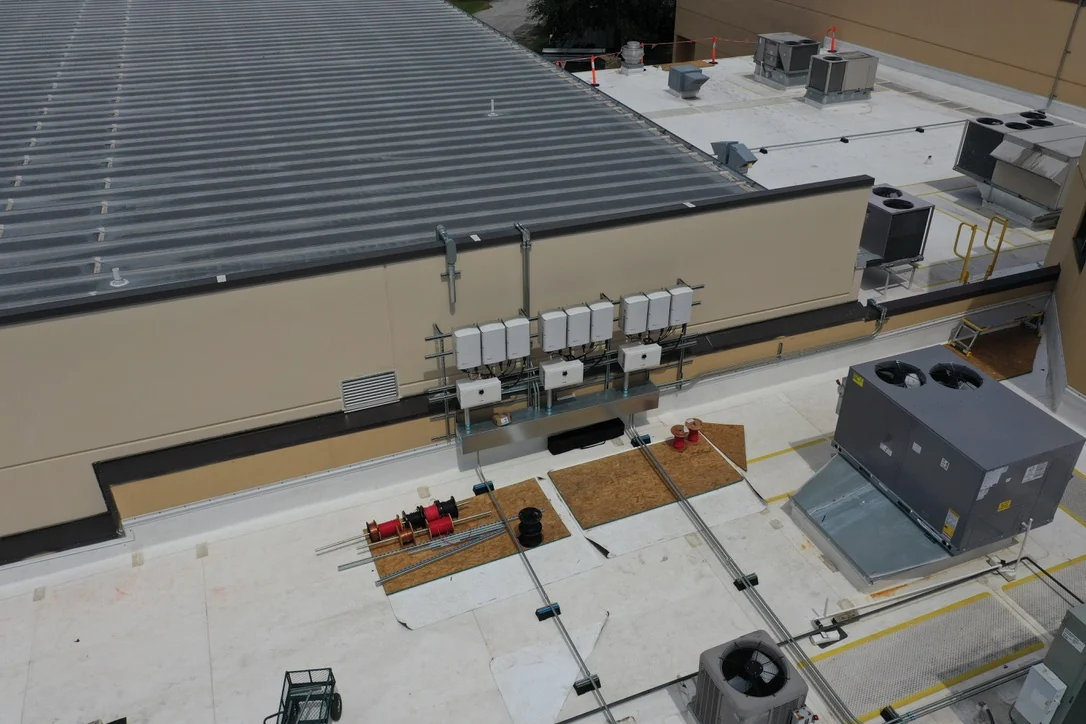
Inverter equipment and conduit installed along the St. Luke’s building on Day 12
Day 13

More panels across the shingle roofs

Panel installation continues across the front building. From above, you can see the arrays following the separate roof sections.
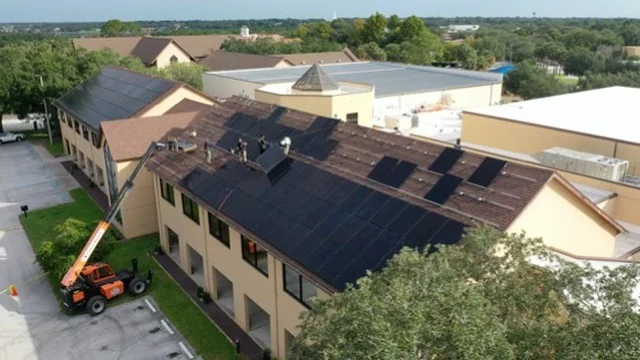
Solar arrays on the St. Luke’s shingle roofs with installers and a lift on Day 13
Day 18

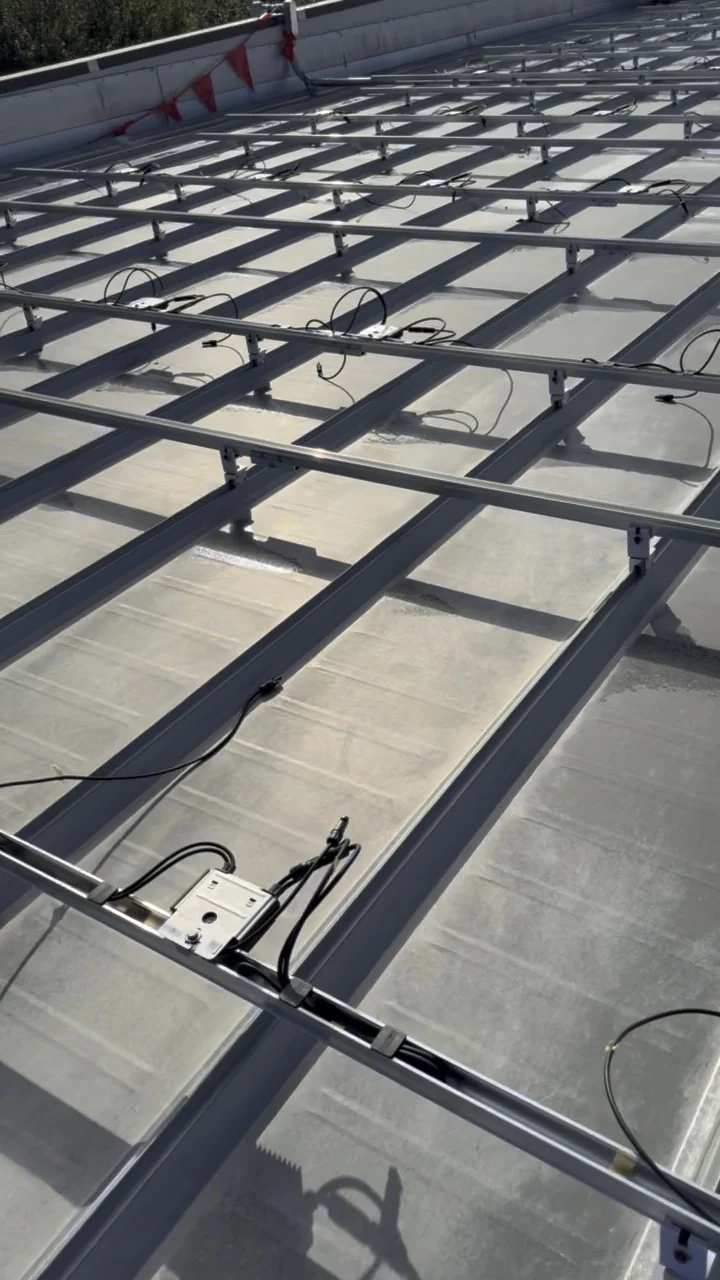
The metal roof is ready for panels

Rows of mounting rails and wiring are in place across the metal roof, ready for the next stage of panel installation.
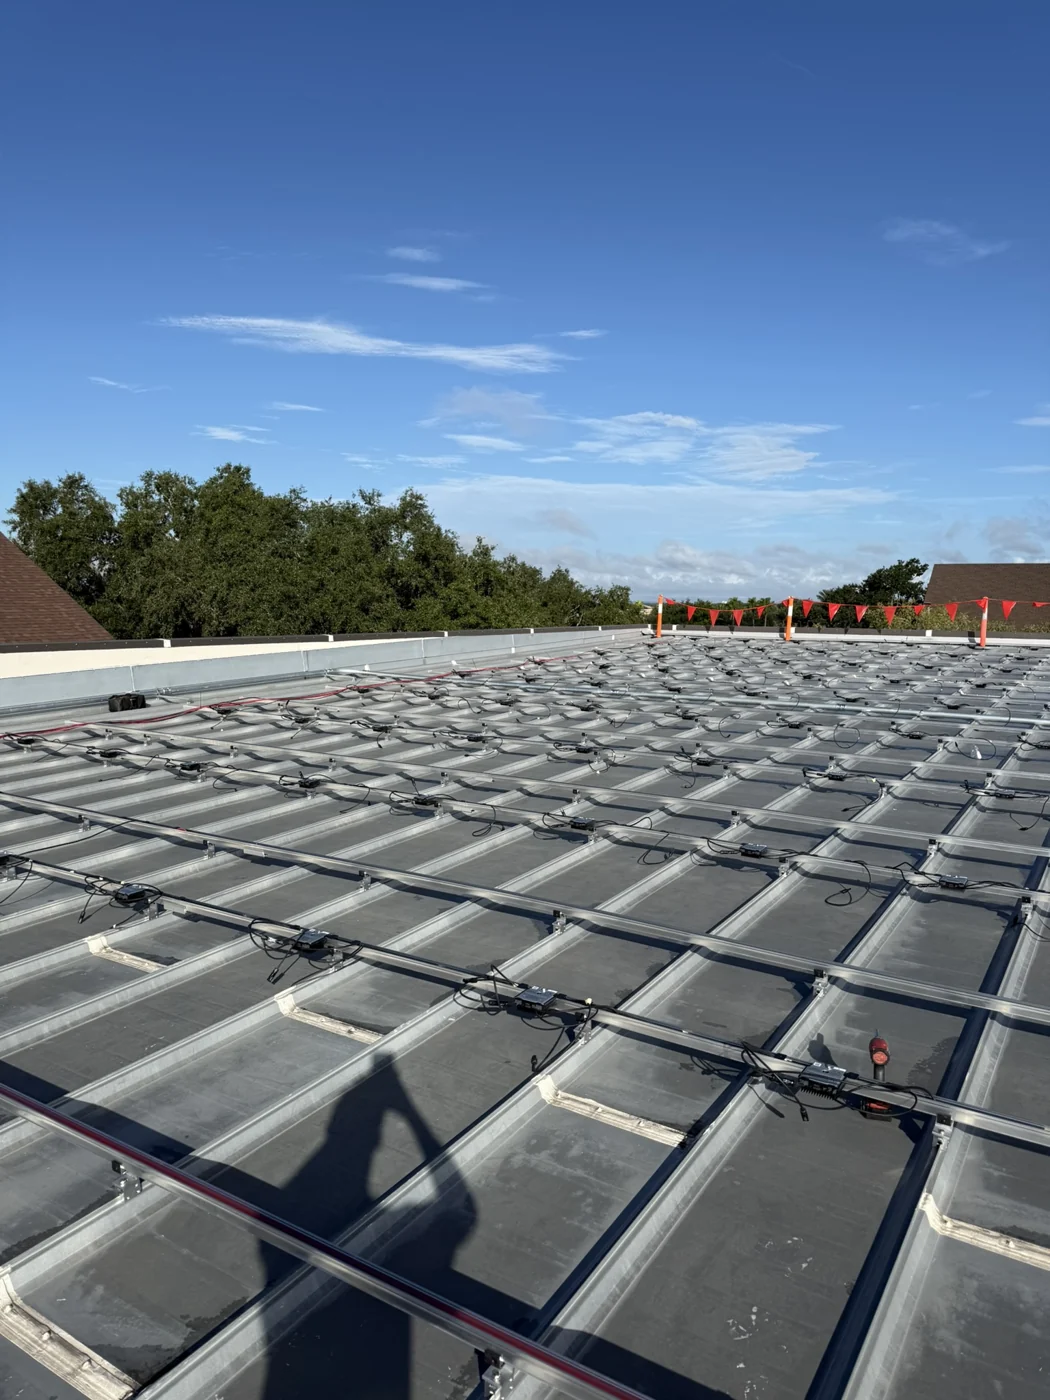
Mounting rails and wiring across the St. Luke’s metal roof on Day 18
Day 22

Panels installed on the metal roof

The Day 22 video shows panels being installed on the metal roof, alongside racking still waiting for panels.

From the field

Roof and electrical work through Day 22.

These photos show the rooftop arrays, electrical equipment and wiring recorded through Day 22.
The recorded plan

Next steps after the Day 22 update.

The Day 22 update shows metal-roof panel installation underway. The recorded plan called for the flat-roof array, final electrical work, commissioning and inspection next.

The dates above reflect the original project schedule.

Explore commercial solar
Commercial solar

Discuss solar for your property.

Share the property address and a recent electric bill. We’ll review what the site can support.

  • Your power bills and operating hours reviewed
  • Roof, land, and electrical service considered
  • Project scope, production, and cost compared

Call or text (407) 594-5505
Text us →

Commercial energy review

See what commercial solar could save

Tell us about the property, utility, and recent power costs.

Prefer to reach us directly?
Solar calculator CallText us